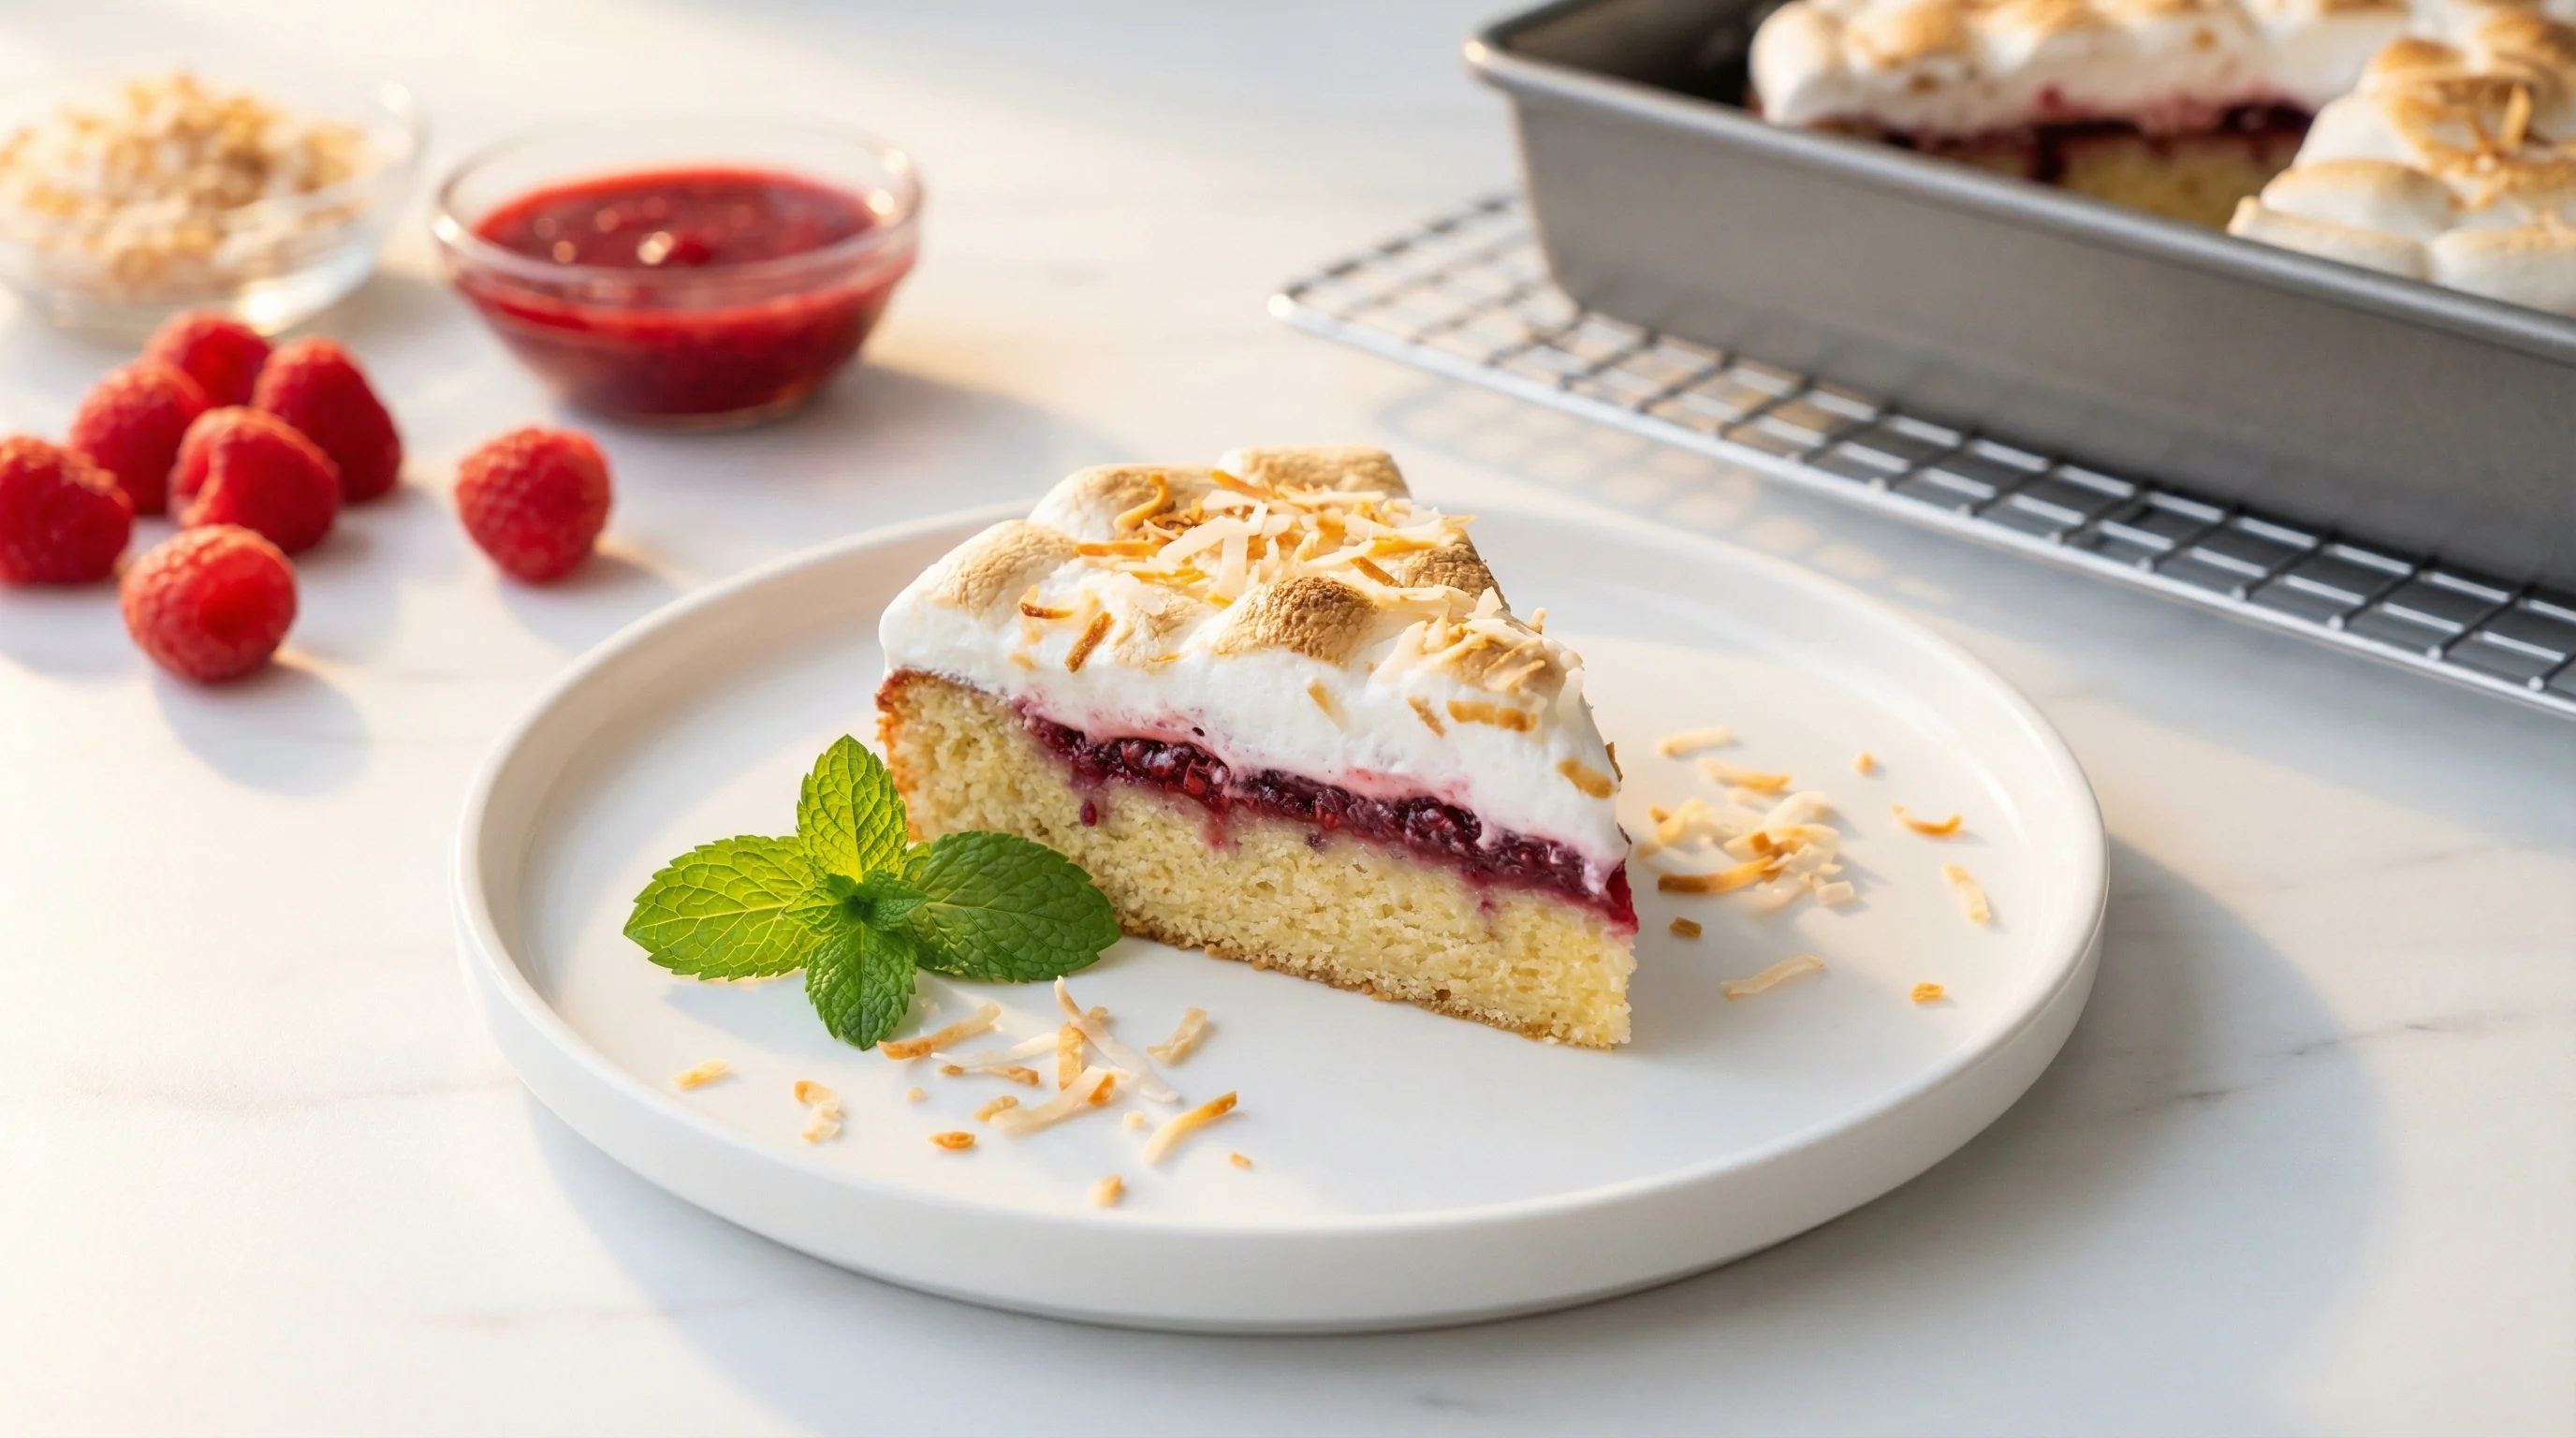
Low FODMAP Louise Cake with Coconut Marshmallow Topping
A nostalgic New Zealand classic reimagined for sensitive tummies - buttery shortbread base, raspberry jam, and pillowy coconut meringue topping that's completely FODMAP-friendly.
This Louise Cake is low FODMAP when portions are controlled to one square per serving. Gluten-free flour replaces wheat flour, making it suitable for those avoiding gluten. Butter is naturally low in lactose, but lactose-free butter can be used if needed. Raspberry jam is FODMAP-friendly in moderate amounts - ensure your chosen brand doesn't contain high-FODMAP sweeteners like honey or high fructose corn syrup. Coconut is low FODMAP up to 1/2 cup desiccated per serving. Eggs are FODMAP-free. The portion size of one square keeps all ingredients within safe limits.
Louise Cake holds a special place in New Zealand baking tradition, and there's no reason those following a low FODMAP diet should miss out on this beloved treat. This three-layer wonder combines a crumbly, buttery shortbread base with tangy raspberry jam and a cloud-like coconut meringue topping that's crispy on the outside and marshmallow-soft within. The magic happens when these contrasting textures come together - each bite delivers richness, tartness, and sweetness in perfect harmony.
What makes this recipe particularly gut-friendly is the careful selection of ingredients that won't trigger IBS symptoms. We use gluten-free flour for the base, which creates just as tender a crumb as traditional wheat flour. The jam layer provides natural sweetness and a pop of fruit flavor without relying on high-FODMAP fruits, while the coconut in the topping is naturally low FODMAP and adds wonderful texture. The meringue technique ensures the topping stays light and airy rather than dense, making it easier to digest.
The key to success with Louise Cake is patience during baking - the base needs to be partially baked before adding the jam, and the meringue topping requires a moderate oven to set properly without burning. Don't rush the cooling process either; letting the cake cool completely allows the layers to set and makes slicing much cleaner. This recipe yields 12 generous squares that store beautifully in an airtight container for up to five days, though they rarely last that long in our kitchen. Whether you're serving these at afternoon tea or packing them in lunchboxes, they're guaranteed to become a new favorite.
🥗 Ingredients
Metric
- 200g gluten-free plain flour Use a quality blend for best texture
- 100g butter, cold and cubed Lactose-free butter works perfectly
- 50g caster sugar For the shortbread base
- 1 large egg yolk Save the white for the topping
- 180g raspberry jam Check label for FODMAP-safe ingredients
- 3 large egg whites At room temperature for best volume
- 150g caster sugar For the meringue topping
- 100g desiccated coconut Unsweetened preferred
- 1/2 tsp vanilla extract Pure extract, not imitation
- Pinch of salt Enhances sweetness
Imperial
- 1 2/3 cups gluten-free plain flour Use a quality blend for best texture
- 7 tbsp butter, cold and cubed Lactose-free butter works perfectly
- 1/4 cup caster sugar For the shortbread base
- 1 large egg yolk Save the white for the topping
- 2/3 cup raspberry jam Check label for FODMAP-safe ingredients
- 3 large egg whites At room temperature for best volume
- 3/4 cup caster sugar For the meringue topping
- 1 cup desiccated coconut Unsweetened preferred
- 1/2 tsp vanilla extract Pure extract, not imitation
- Pinch of salt Enhances sweetness
👨🍳 Instructions
- 1
Prepare the Shortbread Base
Preheat your oven to 180°C (350°F) and line a 20cm square baking tin with parchment paper, leaving overhang on two sides for easy removal. In a food processor, pulse together the gluten-free flour, cold cubed butter, and 50g sugar until the mixture resembles coarse breadcrumbs. Add the egg yolk and pulse until the dough just comes together. Press the mixture firmly and evenly into the prepared tin, creating a compact base that reaches all corners.
⏱️ 10 min - 2
Par-Bake the Base
Bake the shortbread base for 15 minutes until it's just beginning to turn golden at the edges but still pale in the center. Remove from the oven and let it cool for 5 minutes - this prevents the jam from sinking into the base. Keep the oven on as you'll need it again shortly.
⏱️ 20 min - 3
Add the Jam Layer
Gently spread the raspberry jam over the warm base using an offset spatula or the back of a spoon, creating an even layer that goes right to the edges. Work carefully to avoid disturbing the partially baked base underneath. Set aside while you prepare the meringue topping.
⏱️ 3 min - 4
Make the Coconut Meringue
In a spotlessly clean bowl, whisk the egg whites with a pinch of salt using an electric mixer on medium speed until soft peaks form, about 2-3 minutes. Gradually add the 150g sugar one tablespoon at a time while continuing to whisk, increasing speed to high. Beat until the meringue is thick, glossy, and holds stiff peaks when you lift the beaters - this takes about 5 minutes total. Gently fold in the desiccated coconut and vanilla extract using a spatula, being careful not to deflate the meringue.
⏱️ 10 min - 5
Assemble and Bake
Spoon the coconut meringue over the jam layer, spreading it gently to cover completely and creating decorative peaks with the back of your spoon. Return the tin to the oven and bake for 25-30 minutes until the meringue topping is golden brown and crisp on top. The topping should feel firm to a gentle touch but will still be soft underneath.
⏱️ 30 min - 6
Cool and Slice
Remove the cake from the oven and let it cool completely in the tin - this is crucial as cutting while warm will cause the layers to separate and create a mess. Once fully cooled (at least 2 hours), use the parchment overhang to lift the cake onto a cutting board. Use a sharp knife, wiping it clean between cuts, to slice into 12 squares. The cake keeps in an airtight container at room temperature for up to 5 days.
⏱️ 125 min
🔄 FODMAP-Friendly Swaps
Provides variety while maintaining low FODMAP status - check labels to avoid honey or HFCS
For those highly sensitive to lactose, though regular butter is typically well-tolerated
Adds different flavor and texture while staying FODMAP-friendly in controlled portions
Creates a nuttier flavor and works well for those preferring grain-free options
Works identically in this recipe - caster just dissolves slightly faster in meringue
🔬 The Science Behind This Recipe
Why This Works for Your Gut
This Louise Cake recipe transforms a classic Kiwi favorite into a digestive-friendly treat by carefully selecting ingredients that won't trigger IBS symptoms. The foundation lies in gluten-free flour, which eliminates wheat-based fructans—complex carbohydrates that can ferment in the gut and cause bloating and discomfort. Unlike regular wheat flour, gluten-free alternatives made from rice or corn are naturally low in FODMAPs and digest more smoothly for sensitive systems.
Butter and eggs serve as the recipe's building blocks without digestive drama. Pure butter contains virtually no lactose (the problematic FODMAP in dairy), as the milk solids are removed during processing. Eggs are completely FODMAP-free and provide protein that helps stabilize blood sugar, preventing the energy crashes that can sometimes worsen digestive symptoms. Together, they create a rich, satisfying base that won't leave you uncomfortable.
The raspberry jam and coconut topping add sweetness and texture while staying gut-safe. Raspberries are naturally lower in fructose compared to many other fruits, making them a smart choice for IBS management when used in moderate amounts. Shredded coconut is another winner—it's low in FODMAPs and contains beneficial medium-chain fatty acids that are easier to digest than other fats. The coconut marshmallow topping provides that nostalgic sweetness without the high-FODMAP corn syrup or honey found in traditional versions. This thoughtful combination means you can enjoy a beloved dessert without sacrificing your digestive comfort.
Download Printable PDF
Save this recipe for offline use